

Buntline Hitch
The Buntline Hitch is a very secure, but little known knot. It’s history goes back to the age of sail when a knot was needed that would stay tied to the foot of the sails on Square-Rigged Ships with the sail flogging or slatting, since the Buntline Hitch tends to tighten up rather than loosen up like many knots do in these conditions.
The Buntline Hitch was used to tie the foot of the sail to the buntlines. The compact size of the Buntline Hitch allowed the sails to be trimmed tighter through the deadeyes.
Many riggers use the Buntline Hitch today as their preferred knot when going aloft as it is very secure and more compact than a Bowline, the compact size also the rigger be hoisted a bit higher up the mast, very nice for those times when working at the mast head.
The Buntline Hitch is a good knot for use in slick synthetic line, typical applications are, tying a halyard to a sail, especially when using the small slick line used on many dingy sails, tie a a rope halyard to a shackle, tying reefing lines to the boom or any other applications where a compact secure knot is needed. It can also be used to attach a line to eyes, rings, rods, railings and posts.
One downside to the Buntline Hitch is that it can jam under a heavy load.
While the Buntline Hitch is a very secure knot, a round turn can be added around the object being tied to for even more security.
The Buntline Hitch can also be tied “slippery” if you want to be able to untie it easier.
The Spar Hitch is another little known knot that is great for tying fenders to a boat.
The Anchor Hitch is another knot that is very secure and holds well when the load is alternated between heavy and slack.

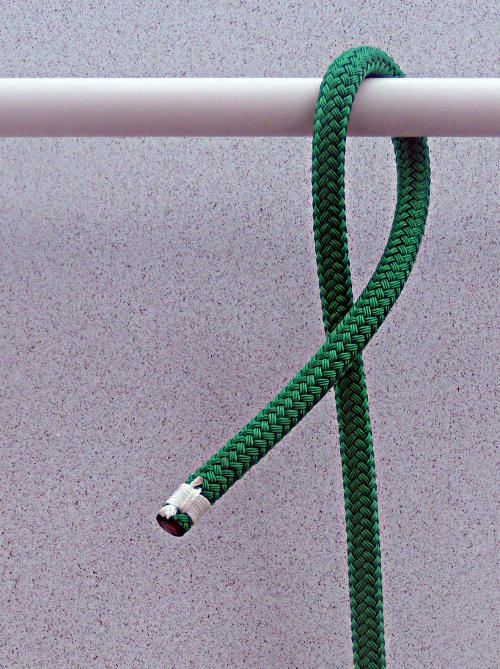
Buntline Hitch – Step 1
Buntline Hitch – Step 1 – Loop the line around the object (or through the cringle on a sail) you are tying to
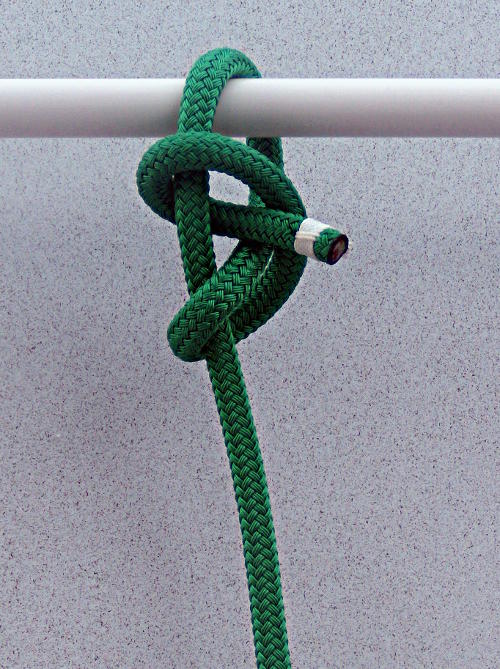
Buntline Hitch – Step 2
Buntline Hitch – Step 2 – cross over the standing part of the line.

Buntline Hitch – Step 3
Buntline Hitch – Step 3 – Continue around the standing part of the line with a round turn. Cross toward the object you are tying the Buntline Hitch to.
A Clove Hitch will be tied toward the object the line is around.
Buntline Hitch – Step 4
Buntline Hitch – Step 4 – Continue around the line in the same direction and tuck the end right along side where you started. This is a clove hitch tied toward the object you are tying to that is around the standing part of the line.
The Buntline Hitch can also be tied slippery. Pass a bight or loop through the final tuck in place of the end of the line.

Buntline Hitch – Step 5
Buntline Hitch – Step 5 – This shows the clove hitch tied around the standing part of the line.

Buntline Hitch – Finished
Buntline Hitch – Finished – The Buntline Hitch has been pulled up snug. You now have a compact knot that is very secure and will not shake out.
The Buntline Hitch is used by many riggers as the only knot when they go aloft.
Thanks for your interest in and support of boating safety.
– c / m –

